Recognize, that if we are prepared to play loosie goosie with the definition, the last image of yesterday’s post is indeed a solarization by virtue of the reversal in the tones at higher intensity. The effect, is subtle, however.
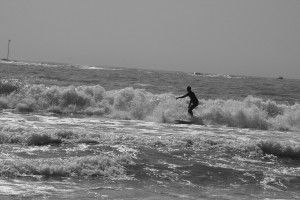
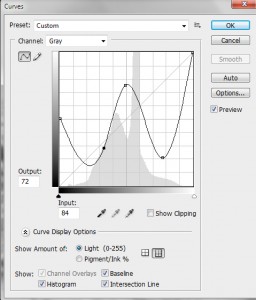
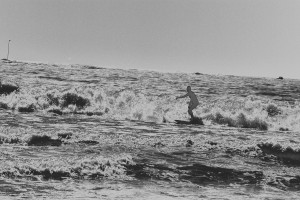
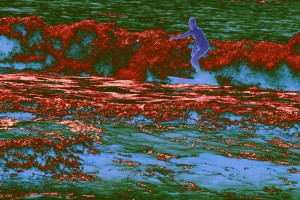
Today I’d like to have a little fun and make a more dramatic solarization. The steps are identical to what we did yesterday. Let’s start with another high contrast image. This is a silhouette that I took of a surfer last month in Kennebunport, ME. Figure 1 shows this as a black and white image. We again go to curves, see Figure 2 and apply a very non-linear, non-monotonic response curve or LUT. The effect is a very surreal and solarized image. It looks almost like a negative!
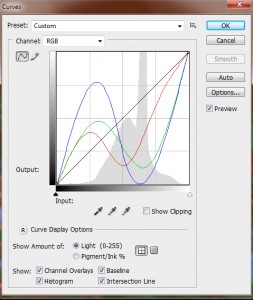
Now we can have some real fun by doing this in color. We return to the colored version of Figure 1. Then we apply a non-linear, non-monotonic response curve to each of the three color planes, Red, Green, and Blue. This is shown in Figure 3.
I then cropped a bit and adjusted the brightness and contrast to make the image more pleasing and voila, we have a solarized color image. Finally, note the way that the surfer is outlined brightly. This effect is classic solarization.

